This is the second of my 2-part series about how to make patterned stamps for engineering drawings. The first article was how to accomplish the same task using Illustrator:
Using Illustrator to Make Patterned Stamps for Engineering Drawings. This series was prompted by an excellent question from my neighbor, a nuclear engineer:
"I am marking up a drawing and created an octagon shape. I wanted to fill it in with a pattern – where can I find patterns? I thought I used this before but can’t seem to find it.
I decided to make some custom stamps for him using Adobe Illustrator, but I wanted a way for him to be able to make his own stamps to suit his particular needs.
For a short period of time many years ago, I worked at an engineering firm in the marketing department. Part of my job was to create powerpoint presentations. I actually had to
recreate many of the graphics I had made in Illustrator, using the drawing tools available to me in powerpoint. The drawing experience was not as elegant as using Illustrator, but it proved valuable because I learned that, in a pinch, powerpoint has some decent drawing tools available. There are a good sized collection of basic shapes to choose from. These screenshots are from Office for Mac 2011, but I imagine all versions of powerpoint have these shapes as well.
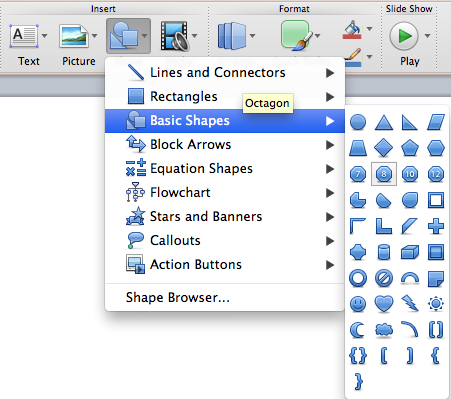 |
| Powerpoint Basic Shapes |
Go to: Insert > Basic Shapes > Octagon. Now you can draw the octagon on your page. I only needed a small octagon, so mine doesn't take up much room. Now, keep in mind that powerpoint will let you draw the octagon in whatever proportion you desire, so if you want to draw a perfectly symmetrical octagon, hold down the Shift key as you drag. That will constrain the proportions.
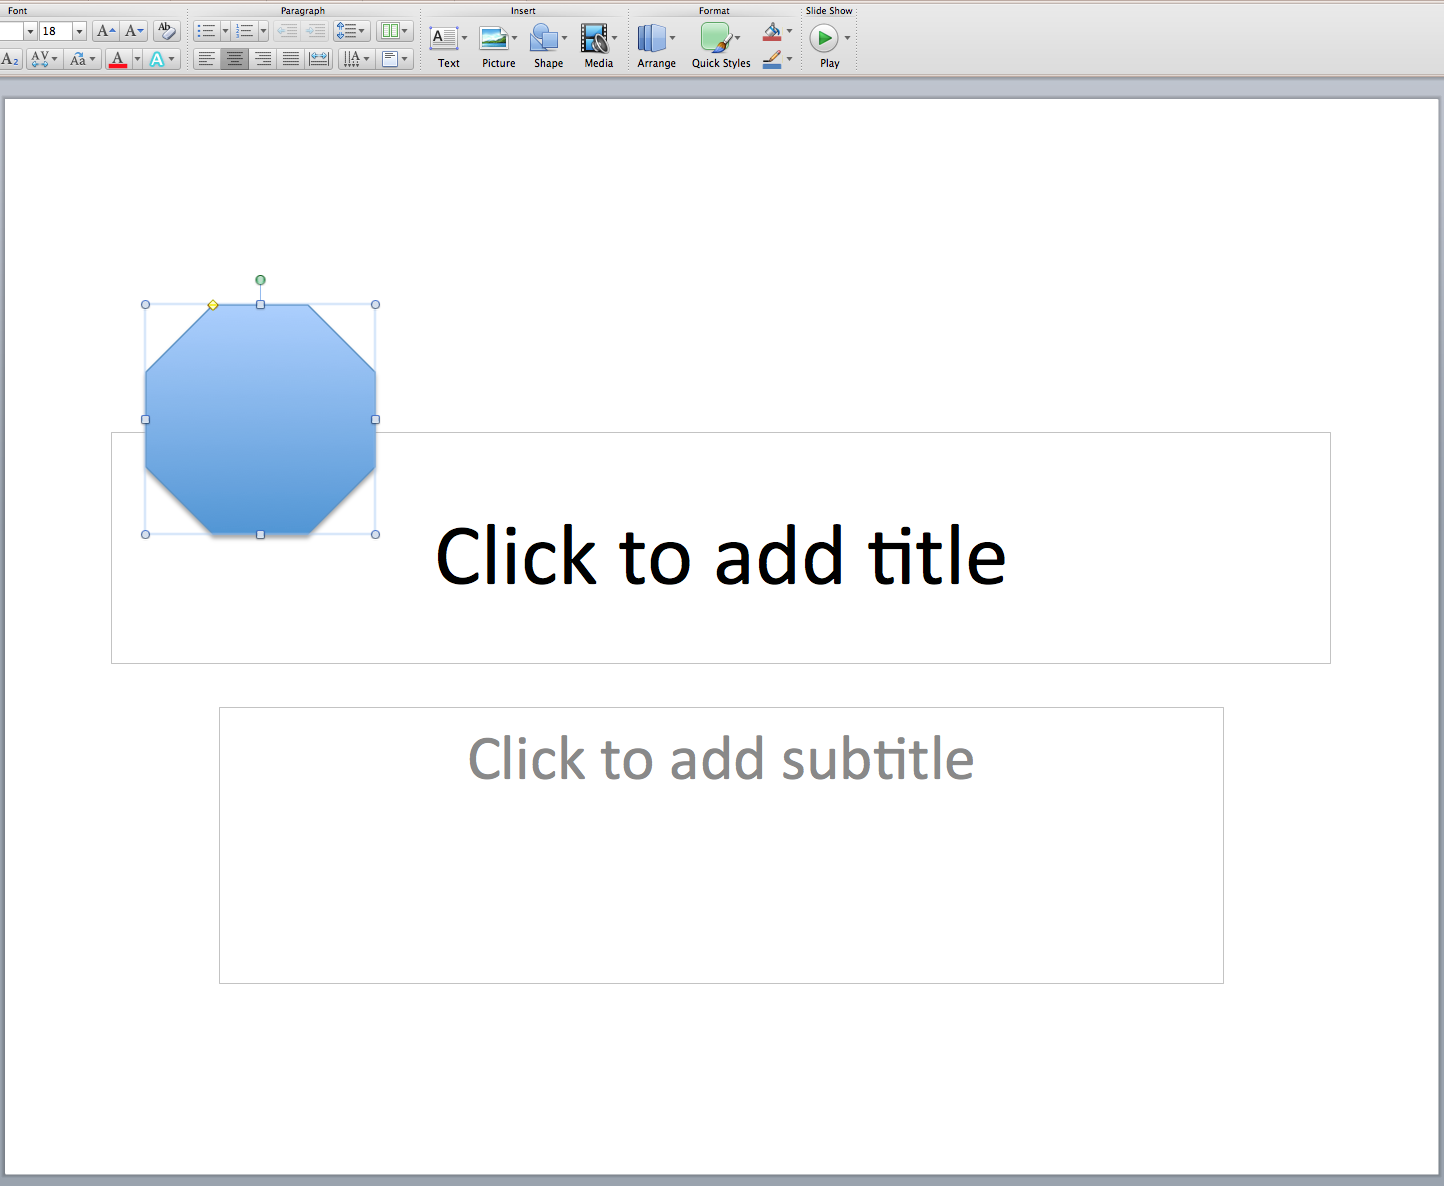 |
| An Octagon as a basic Shape in a Powerpoint document |
Next we need to edit the color and pattern of the shape. Go to Fill Effects and click on the paint bucket icon. This will let you edit all sorts of things about the shape, not just the Fill (as one might presume by the name "Fill Effects").
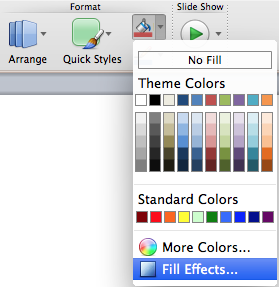 |
| Powerpoint Fill Effects |
First change the fill color from blue to a pattern. Go to Fill > Pattern tab.
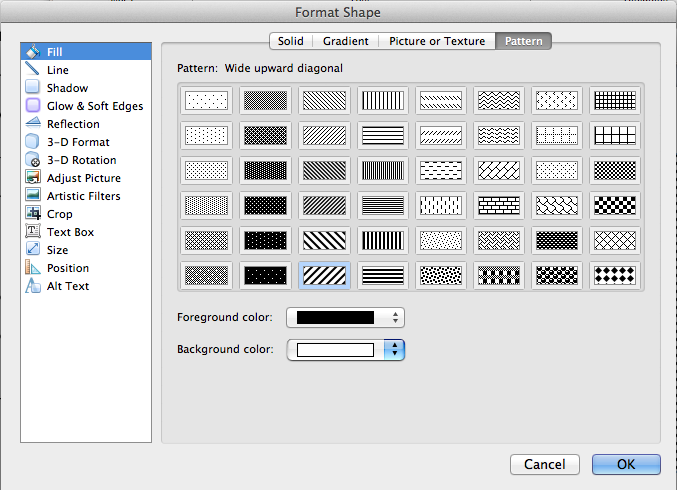 |
| Fill Patterns |
Next change the line (stroke) color from blue to black.
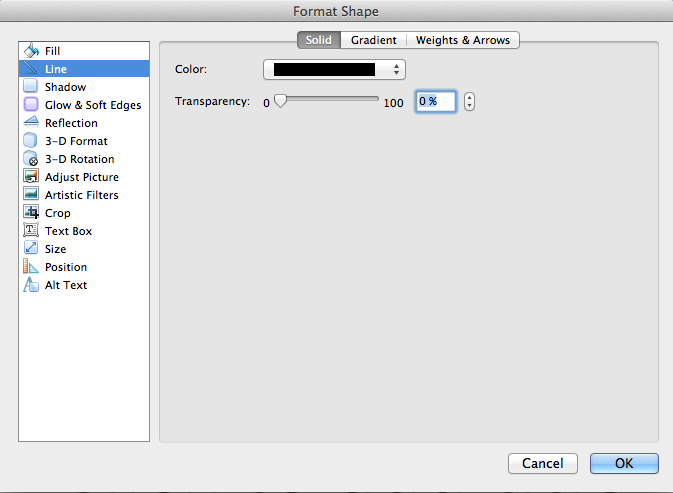 |
| Line Color |
Finally, remove the drop shadow by unchecking "Shadow."
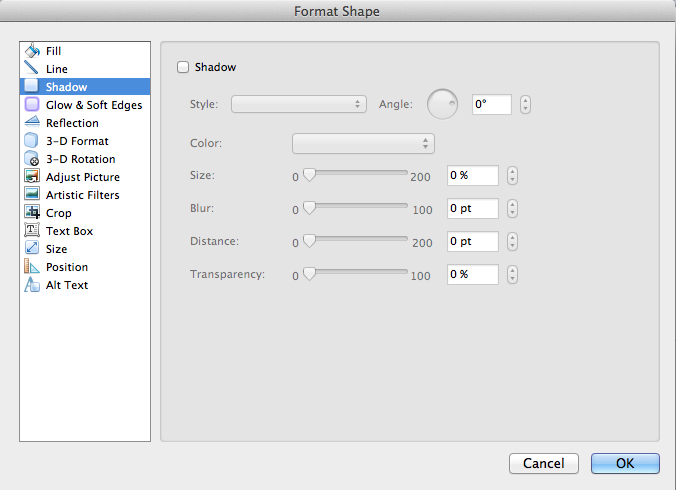 |
| Shadow |
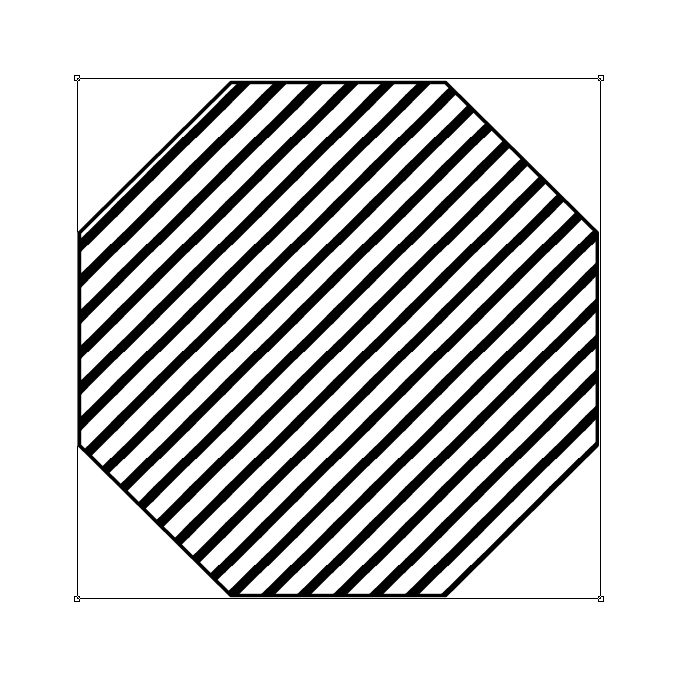
Now your slide should look something like this:
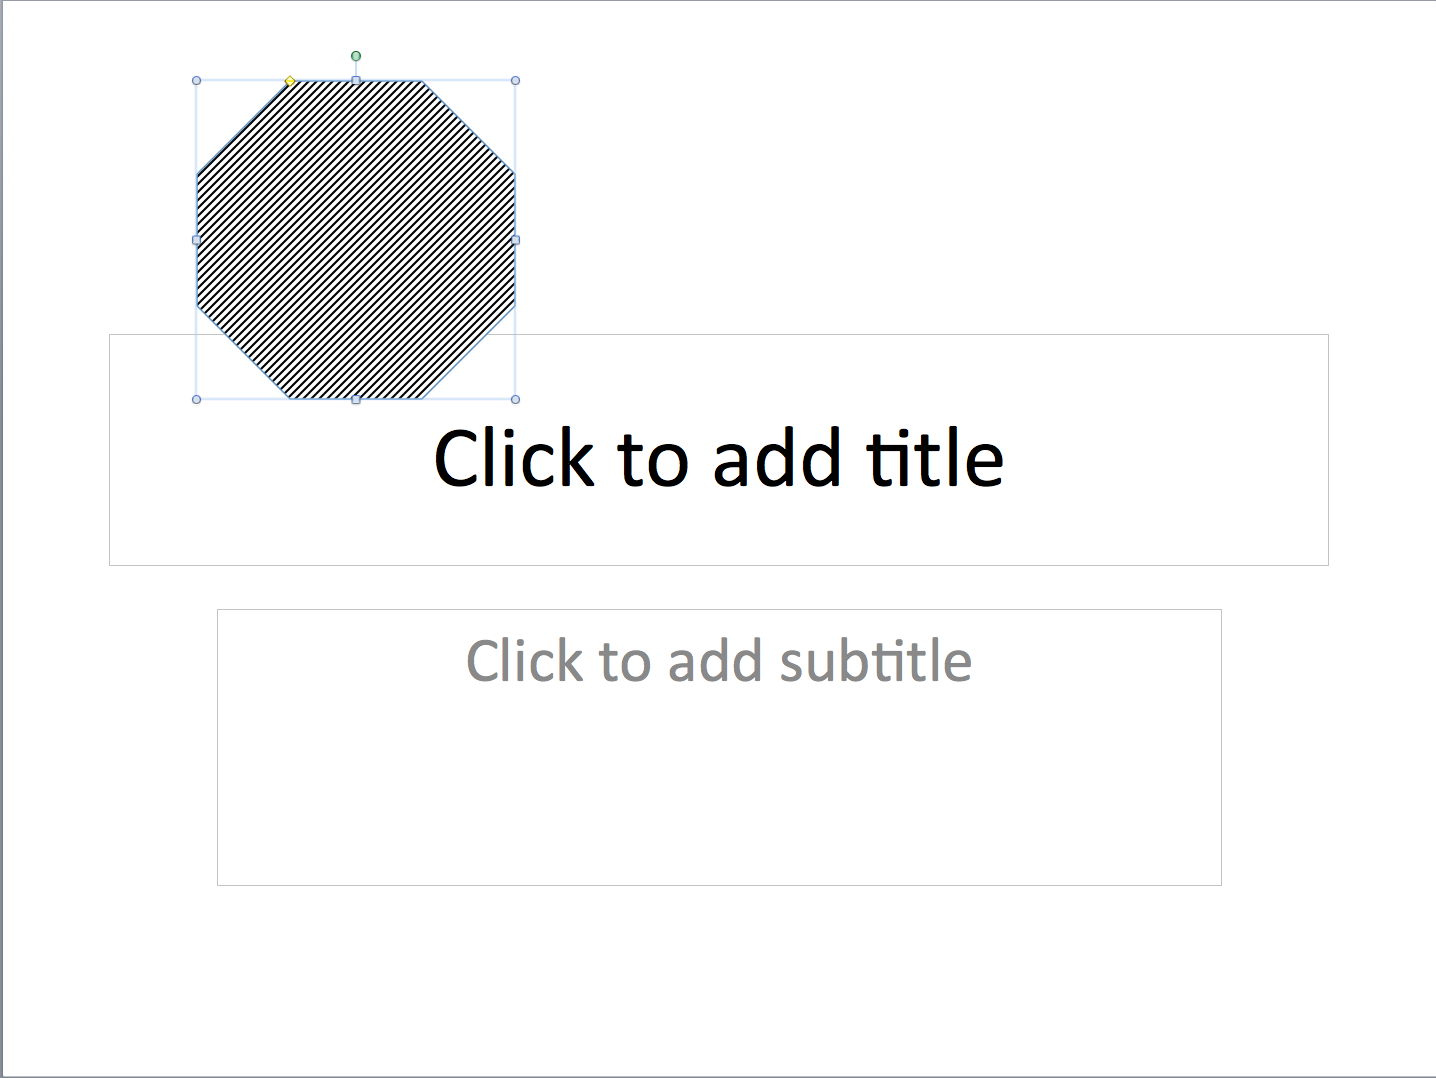 |
| Patterned Octagon on a Powerpoint Slide |
Next, you'll need to create a PDF. Your method may be slightly different (since I am on a mac), but here is how I make a PDF from powerpoint: Go to File > Print and from the PDF button in the lower right, choose "Save as PDF." Save the PDF in a convenient place and be sure to remember what you named it.
 |
| Save as PDF |
Next, go into Acrobat (not Adobe Reader) and open the PDF you just made. Now we're going to crop the page. If you're not in the printing or design industry, there is a good chance you never knew Acrobat could edit page size. It's a little secrets among printers and designers that Acrobat is capable of editing PDFs in ways that Office users could only dream of. So next go to Tools > Print Production.
 |
| Tools > Print Production |
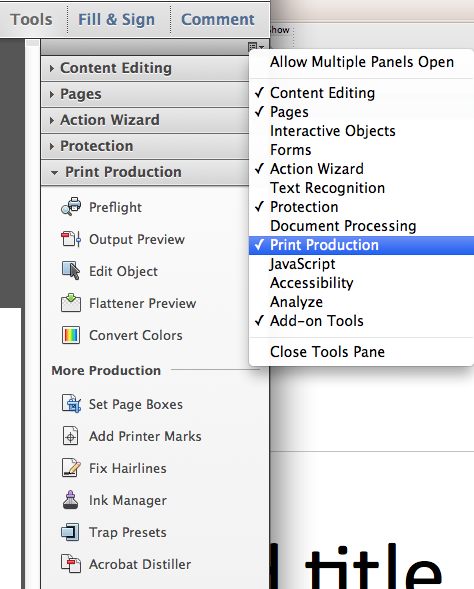
Now, if you don't have Print Production in your list of tools, fear not. Just click on the little "Icon in the top right corner of the Tools panel. It will display a drop down of all the different tools available. Now choose "Set Page Boxes."
 |
| Set Page Boxes |
That will bring up this screen. Now, if you happen to know the exact amount you should crop, or if you want to set your page to a particular known size, this dialog box is great for that. But for your purposes today, it's not very useful. You see, I don't know where exactly my octagon is placed on the page, and I don't know exactly how big it is. What I really what is a way to just draw a box around the octagon and crop to that. So Press Cancel.
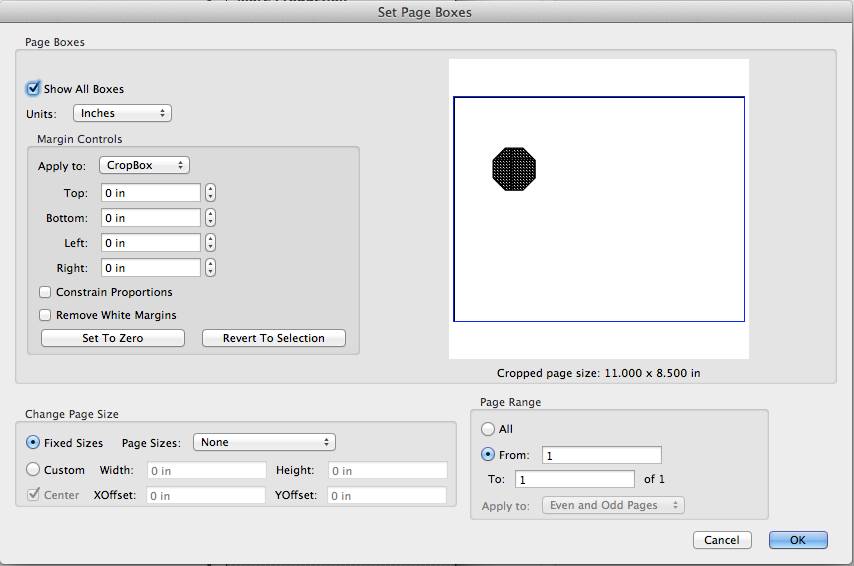 |
| Set Page Boxes UI |
Next, press C. That will change your cursor from a hand into crosshairs. This is a hidden feature of Acrobat XI. Years ago, I think that the Crop tool was a separate tool, and you could use it without having to go into a dialog box first. Fortunately for me, the shortcut for the Crop tool is the same as it is in Photoshop. So zoom in close to the Octagon (Cmd/Ctrl +) and draw a marquee around your octagon.
 |
| Crop Boundaries |
Now press Enter/Return. That will bring up the Set Pages dialog box, but this time, the fields will be pre-populated!
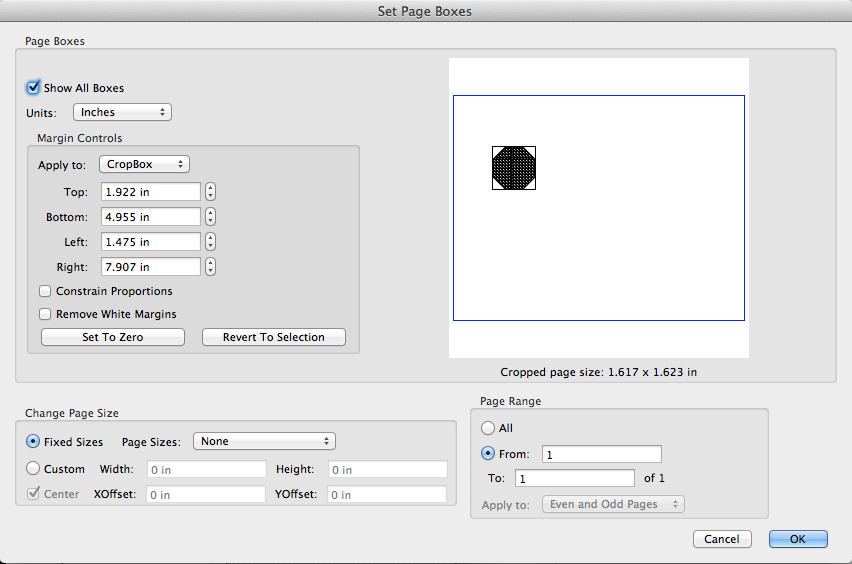 |
| Set Page Boxes with fields Pre-populated |
Now see how the PDF page size has changed? Note: hover over the lower left corner of the gray area in Acrobat and it will temporally display the page size.
Now your patterned octagon is reay for use as a custom stamp. Go to
Using Illustrator to Make Patterned Stamps for Engineering Drawings and start with
Step 7: Create a Custom Stamp.
Edit: 9-13-918
If you need an easier way to create and manage stamp annotations in your PDF, check out my article on Bluebeam Revu. It's an amazing program designed specifically to meet the needs of users in Architecture, Engineering, and Construction. Specifically, read about the Toolchest, where you can store annotations that you use frequently.

No comments :
Post a Comment